As a new RVer, there are so many things to learn about your travel trailer or motorhome. It can be overwhelming at first. That’s why Outdoorsy has created a new series entitled “One Big Question,” where we tackle one subject, walking you through what may, at first, seem to be a daunting task. Today’s question is:
How do I drive a Class A RV?
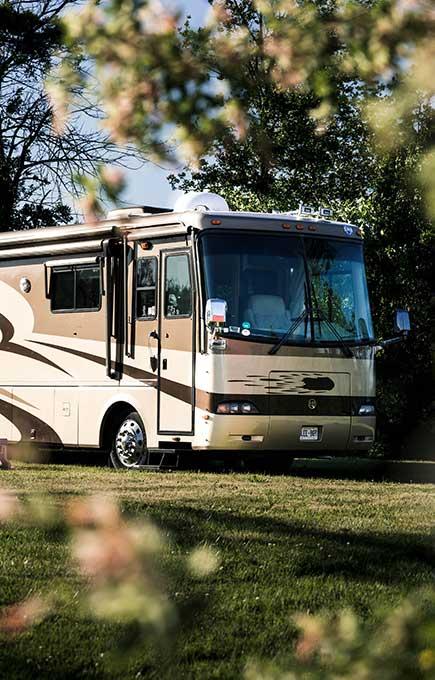
The first myth to bust here is that no, you do not need a special license to drive the largest type of motorhome on the market. Class As are the RVs that look like a bus, and they pretty much drive like one too. But if your neighbor Susie can drive kids to school on a bus, you can learn how to drive an RV of the same size.
For a full list of special license requirements in each state, check out our Big Guide To RV Driver’s License.
Know your mirrors
Your first action should be to know the measurements of your Class A, especially how long it is. Then you will want to adjust the side view mirrors while sitting in the driver’s seat. You’ll notice these are not normal car mirrors that you find on the driver’s side and passenger’s side on the exterior of the vehicle.
RV mirrors have two different mirrors on either side of the coach. The top mirror is flat, displaying the actual view. The bottom mirror is convex, making everything appear much farther away than it is. You need to use both mirrors to get an accurate view of what is behind and beside your coach as you drive.
Here is a terrific video that will show you how to set and use both mirrors and maintain good lane position with defensive driving techniques:
Making turns
Now that you are aware of what you can and can’t see from the driver’s seat, let’s look at the part of driving a Class A that seems to be the most intimidating: making turns.
This is where knowing the length of your vehicle comes into play. Here’s another video that explains how the length of your RV and its pivot point are very important when judging turns (especially right turns):
As you can see, the longer your vehicle, the more allowance you need to have for turns. I was taught that when making a right turn in a shorter RV, I should let the obstacle that I need to get around—like a stop sign—go past my hip before I started the turn. That little suggestion has made a world of difference in my driving skills.
Backing up
One last trick that many newbies worry about is backing their RV into a campsite or driveway. The most efficient way I have found to do this requires a tape measure and some reflective tape.
Start by marking 8 feet in front of the pivot point on your motorhome. (The pivot point is the center of the wheels on the rear of your coach.) Now you may have 2 sets of wheels if it’s a large rig, but the farthest back are called ‘tag wheels.’ The wheels in front of the tag wheels constitute your pivot point. I’m going to let this video show you exactly how to measure the 8 feet in front of your pivot point and how to utilize that mark any time you are backing your RV up. It’s actually a lot simpler than you might think!
If you are a solo traveler like me, you can pull your motorhome to the edge of the driveway or campsite, hop out and see how close you are to the 8-foot mark, check for limbs, obstacles, etc. then pull forward until the driveway’s edge is no longer in your mirrors, and begin the hard turn as shown in the video.
You’re getting the hang of it
I hope you feel a little more confident about driving a Class A RV after practicing these techniques. Now you’re ready to take your RV rental out for a spin, utilizing all the tips listed here. Before you know it, you’ll be navigating the road (and campground) like a pro.


